Exclusive discounts on roses for delivery!
A Timeless Tradition: Effortlessly Drying Flowers in Your Oven
Instead of letting your beautiful bouquets fade, preserve them for years to come using an accessible, modern tool: your kitchen oven. This blog post offers a simple and effective method for transforming a temporary joy into a lasting memory.
9/3/20255 min read
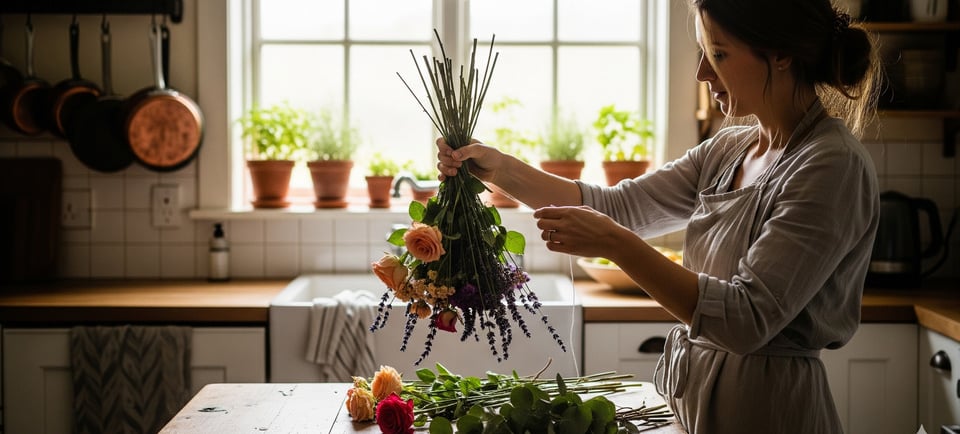
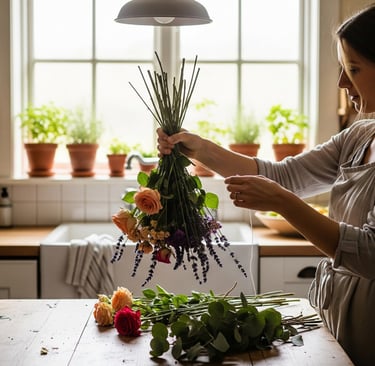
You know that feeling, right? That little pang of sadness when a beautiful bouquet, a gift from a loved one or a treat for yourself, starts to wilt. We all get it. Those gorgeous blooms, so vibrant and full of life, have a fleeting existence. But what if they didn't have to? What if you could capture that moment, that color, that sense of joy, and make it last not for a week or two, but for years?
Honestly, the idea of preserving flowers might sound a bit old-fashioned—like something our grandmothers did. You probably imagine delicate petals pressed between heavy books, or dusty bunches hanging upside down in a dark room. And while those are perfectly valid (and lovely!) methods, there’s a secret, a quicker way to bring this timeless craft into your busy modern life: using your oven. Yes, you read that right. Your kitchen oven can be a powerful tool for preserving the beauty of nature, and it's surprisingly simple. Let me walk you through how to do it.

From Garden to Glory: The Magic of Oven-Dried Flowers
So, here's the thing. Drying flowers is all about removing moisture, and your oven does that job with incredible speed and efficiency. Unlike air-drying, which can take weeks, the oven method can get the job done in just a couple of hours. This is especially fantastic if you're the "I want it now" type, which, let's be real, is most of us in this day and age!
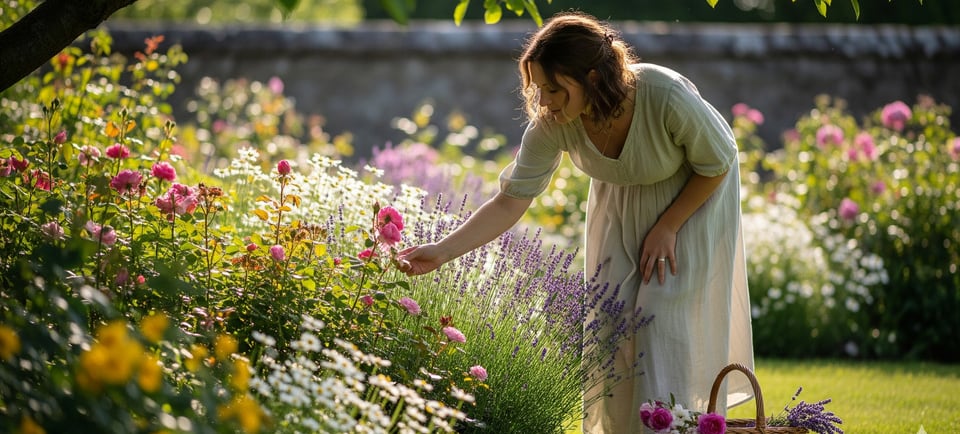
The best flowers for this little project? You'll want to choose blooms that are fresh and sturdy, not flowers that are already drooping. Think of it like this: the healthier the flower, the better it will retain its shape and color. Roses, sunflowers, zinnias, and even smaller daisies or hydrangeas are all great candidates. Flowers with thinner petals might work, but you'll need to keep a very close eye on them to prevent them from becoming brittle or, heaven forbid, burning.

The How-To: A Step-by-Step Guide to Baking Blooms
Okay, ready to get your hands dirty? Or, well, your baking racks ready? Here's the drill.
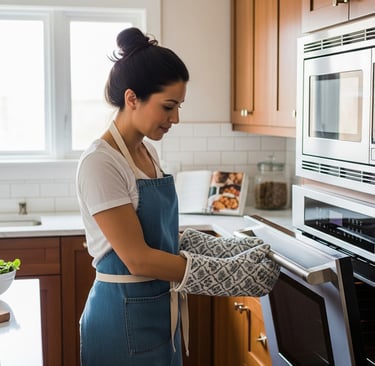
1. Prep Your Petals (and Your Oven!)
First, set your oven to its absolute lowest temperature. We're not baking a cake here; we're gently coaxing the moisture out. Think of it as a warm, dry sauna for your flowers. A temperature between 150-200°F (or 65-90°C) is ideal. If your oven has a convection setting, that's even better, as it circulates the air and speeds things along. While the oven preheats, you can get your flowers ready. Trim off the stems and any leaves, leaving just the blooms. If you want to dry individual petals for potpourri, this is the time to separate them.
2. The Great Lay-Out
Now, get your baking rack or a baking sheet lined with parchment paper. This is a critical step because it allows air to circulate underneath the flowers. Lay your flower heads or petals out in a single, even layer. Make sure they aren't touching each other. Think of them as sunbathers on a beach—they all need their own space to get that perfect, even tan.
3. The Bake-Off
Slide your rack into the oven. How long will it take? That's the million-dollar question, and the answer is: it depends. The size and density of your flowers will play a big role. Thicker blooms like roses will take longer—sometimes up to two and a half hours. Smaller, thinner petals might be ready in as little as 30 minutes. The key is to check on them every 20 to 30 minutes. They're ready when they have a papery, crisp feel. If you notice any of them starting to get a little too brown or shriveled, pull them out.
4. The Grand Finale
Once they're dry, turn off the oven and let your beautiful creations cool completely before you handle them. They'll be a bit fragile, so treat them with care. And just like that, you've got a supply of stunning, oven-dried flowers ready for your next craft project.
Beyond the Oven: Other Ways to Preserve Beauty
Of course, the oven isn't the only game in town. There are a few other popular methods, each with its own special charm.
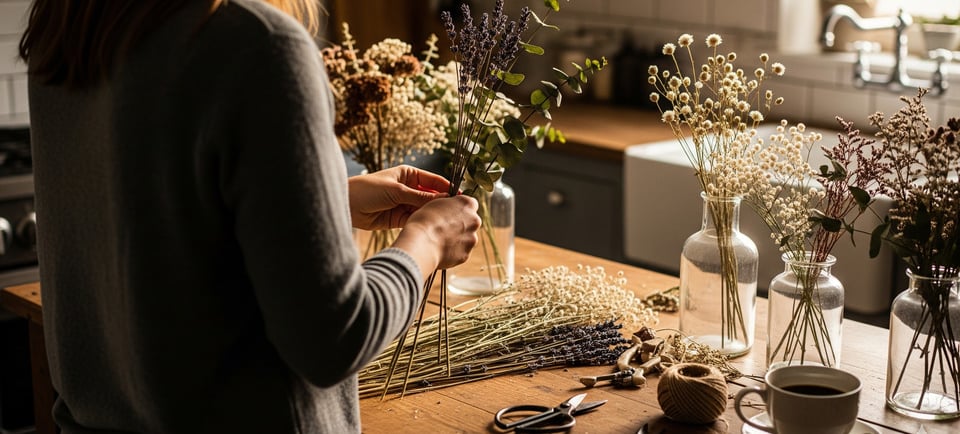
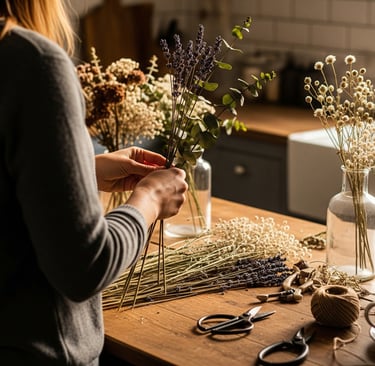
Air-Drying: This is the classic, time-honored method. You simply hang small bunches of flowers upside down in a dark, dry, well-ventilated space. It takes a few weeks, but it's great for preserving a bouquet's shape and is often preferred for floral arrangements.
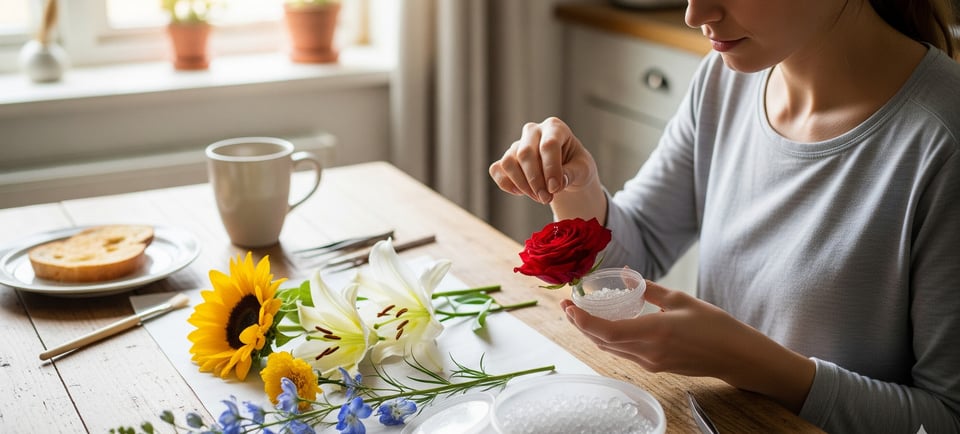
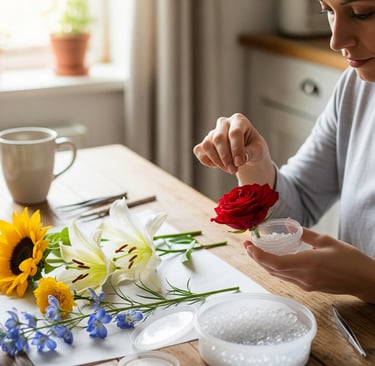
Silica Gel: If you want to keep the vibrant color of your flowers, silica gel is your best friend. This powdery desiccant absorbs moisture quickly, leaving the blooms looking incredibly lifelike. You just need to bury the flowers in a container of the gel for a few days. The bonus? You can reuse the gel by drying it out in your oven.
Pressing: The traditional method of placing flowers between the pages of a heavy book is perfect for creating flat, delicate designs for scrapbooks or framed art. This method is slow and takes a few weeks, but the results can be stunning.
FAQs: Drying Flowers in Oven
Q: How long do oven-dried flowers last?
A: With proper care, they can last for years! To extend their life, keep them out of direct sunlight and away from high humidity. A light misting of hairspray can also help to protect them and prevent the petals from shattering.
Q: What if I don't have a convection oven?
A: No problem at all! A regular oven on its lowest setting works just fine. The convection feature just helps to circulate the air for a slightly faster, more even drying process.
Q: Can I dry leaves in the oven too?
A: Yes, absolutely! The oven method works wonderfully for drying leaves and other foliage. They will dry much faster than flower petals, so keep an extra close eye on them.
Q: Why did my flowers turn brown?
A: This usually happens for two reasons: either the oven temperature was too high, or the flowers were left in for too long. Remember, we're going for a gentle bake, not a roast!
From Petals to Purpose: Putting Your Dried Flowers to Work
So, you've got a beautiful stash of dried blooms. Now what? The possibilities are endless! You could make a gorgeous potpourri mixture by adding a few drops of essential oils. Imagine a bowl of dried rose petals and citrus slices on your coffee table—it’s an instant mood-lifter. You could use them in craft projects, like homemade greeting cards or stunning resin jewelry. Or, simply place them in a beautiful vase for a permanent, no-fuss floral display. Honestly, it’s a small way to bring a little bit of enduring beauty into your home, one petal at a time.