Exclusive discounts on roses for delivery!
Your Own Vintner's Journey: A Beginner's Guide to Making Wine at Home
Making your own wine at home is a surprisingly accessible and incredibly rewarding hobby. You don't need a sprawling vineyard or a secret family recipe to capture the magic of sun-drenched grapes and patient craftsmanship. With a little know-how and some basic equipment, you can start your own DIY wine project and bottle a bit of summer for a rainy day.
9/3/20256 min read
Honestly, there’s something undeniably magical about a bottle of wine. The way it tells a story of sun-drenched grapes and patient craftsmanship… it's a feeling, isn't it? But what if you could take that magic and make it your own? What if you could capture the essence of a beautiful summer and bottle it for a rainy day?
Believe it or not, crafting your own wine at home isn't just for seasoned pros in a sprawling vineyard. It's a surprisingly accessible and incredibly rewarding hobby. And guess what? You don’t need an expensive cellar or a secret family recipe passed down through generations. A little bit of know-how and some basic equipment are all you need to get started on your own home winemaking adventure.
Let's demystify this whole process and show you how to start your own DIY wine project without getting tangled up in technical jargon. Think of this as your friendly chat with a seasoned, but not overly serious, home brewer. We'll walk you through the journey, from a humble bucket of fruit to a clear, drinkable glass of your very own vintage.
The Bare Necessities: What You'll Need to Get Started
Before we even think about crushing grapes or steeping flowers, we need to gather our tools. The good news? The initial investment is a drop in the bucket compared to the cost of buying a lifetime's worth of wine. Most beginners opt for an all-in-one winemaking kit, which is a fantastic way to hit the ground running.
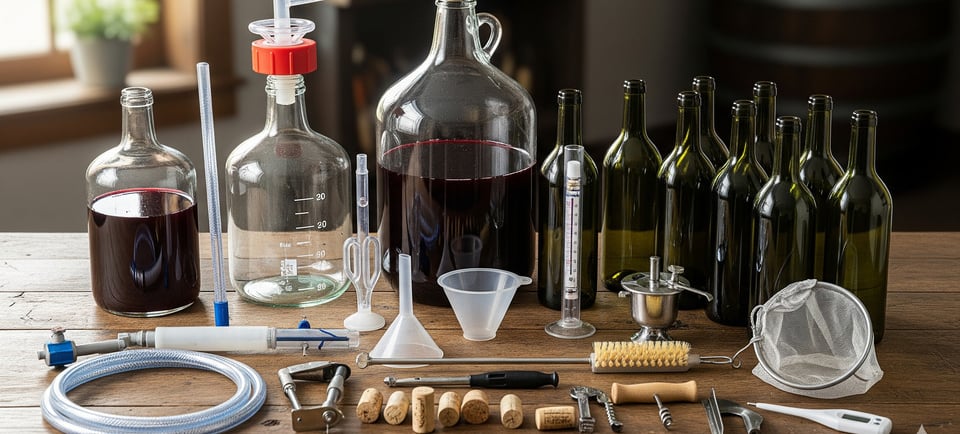
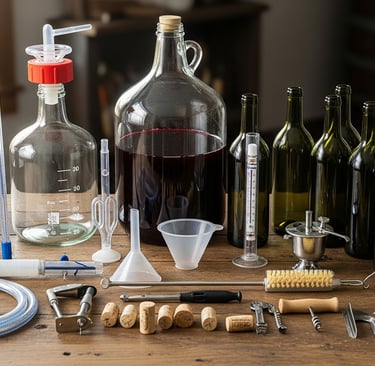
Here’s the rundown of the essential equipment:
A Primary Fermentation Vessel: This is where the magic starts. It's usually a large, food-grade bucket with a lid. This is where your ingredients will mix and the initial, most vigorous fermentation will happen.
A Secondary Fermentation Vessel (Demijohn or Carboy): After the initial burst of activity, you’ll transfer your wine into a glass or plastic demijohn or carboy. This is where it will quietly ferment and clarify.
Airlocks and Bungs: These nifty little devices let the carbon dioxide gas from fermentation escape while preventing any unwanted oxygen or bacteria from getting in. It's like a one-way street for air, and it's absolutely crucial for good wine.
Syphon: This long tube is your best friend for moving your wine from one vessel to another without disturbing the sediment. It’s a gentle, no-fuss way to "rack" your wine.
Hydrometer: A tool that measures the sugar density of your liquid, giving you an idea of your wine's potential alcohol content. Don't worry, you don't need a Ph.D. in chemistry to use one—it's surprisingly simple.
Sterilizer: The single most important rule of home brewing? Clean, clean, clean. A good sterilizer will keep pesky bacteria at bay and save your hard work from going south.

From Fruit to Ferment: The Winemaking Process, Unpacked
Ready? Let’s get our hands (and maybe our feet) a little messy.
Step 1: The Foundation - Cleaning and Preparation
Honestly, you can't be too careful here. Before anything touches your ingredients, every single piece of equipment must be thoroughly cleaned and sterilized. Think of it as preparing a sterile operating room for your wine. Any rogue bacteria or wild yeast could spoil the entire batch, so take this step seriously.
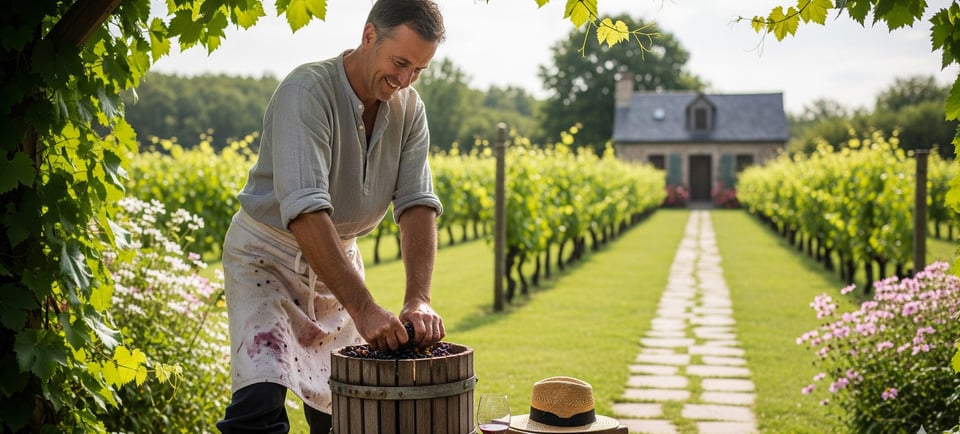
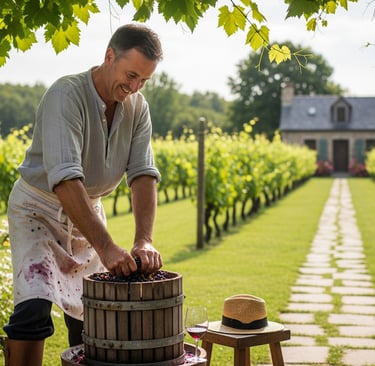
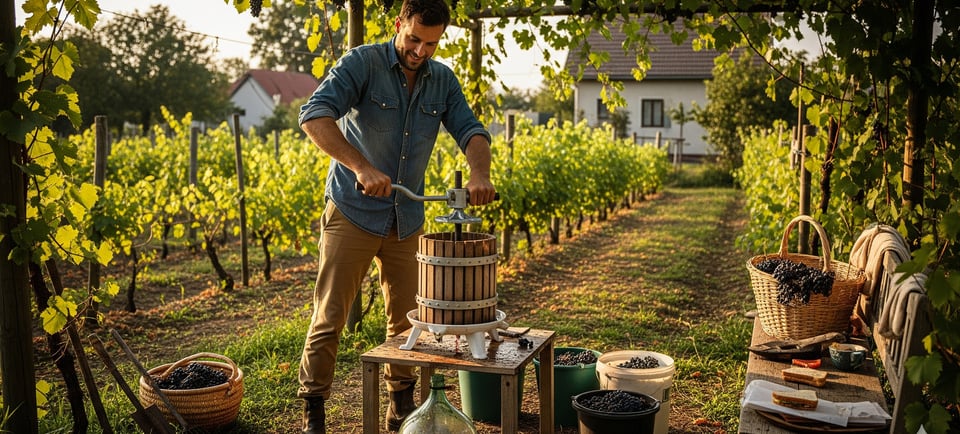
Step 2: The Must - Crushing, Pressing, and Mixing
"Must" is the fancy winemaking term for your mixture of crushed fruit (or juice), sugar, and water before it starts fermenting. If you're using fresh fruit, you'll need to wash it and then crush it. For red wine, the skins stay in; for white wine, they're typically removed. After crushing, you'll add the sugar, water, and other additives like yeast nutrients and Campden tablets, which help to stabilize the must.
Step 3: The Big Push - Pitching the Yeast
This is where the real show begins! You'll "pitch" or add your wine yeast to the must. This is the living, breathing element that will consume the sugars and convert them into alcohol and carbon dioxide. You’ll cover the bucket with its lid and fit the airlock. Within a day or two, you'll notice a yeasty foam on the surface and bubbles in your airlock—that’s your yeast getting to work!
Step 4: The Quiet Time - Secondary Fermentation
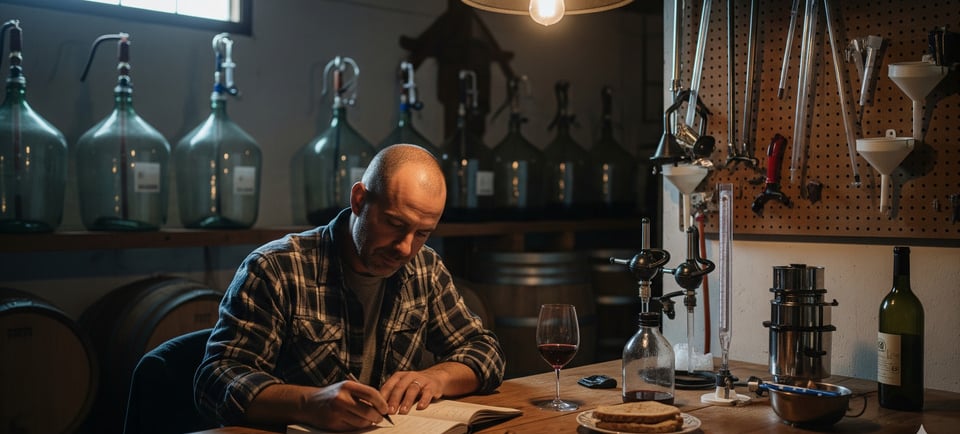
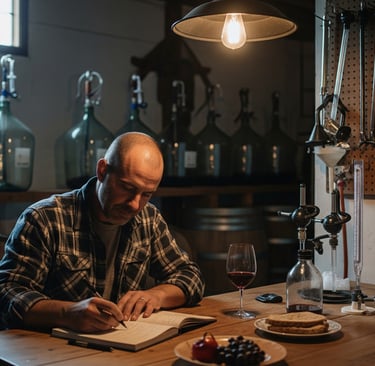
After the first week or so, the furious bubbling will slow down. This is your cue to transfer the wine, carefully siphoning it from the primary bucket into a demijohn, leaving all that sediment behind. This process is called racking. You'll fit a new airlock and let it ferment slowly for several more weeks or months. This is where the wine begins to clear and develop its character.
Step 5: Clearing the Way - Racking and Finings
Over time, more sediment will settle at the bottom of the carboy. You'll need to rack the wine again, moving it into a fresh, clean vessel. This is done to prevent off-flavors from the dying yeast. If your wine is still cloudy after a few rackings, you can add finings—agents that help bind to the tiny particles, making them drop to the bottom faster.
Step 6: The Grand Finale - Bottling and Aging
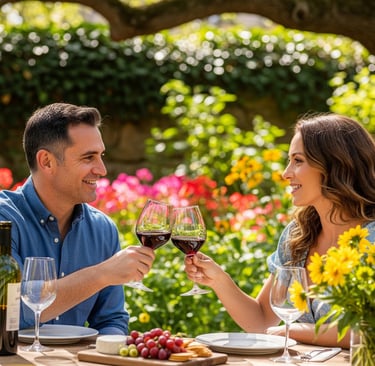
Once your wine is crystal clear and all fermentation has stopped (a hydrometer reading can confirm this), it's time to bottle! Use a syphon to fill your sterilized bottles, leaving just enough room for the cork. You'll then cork them and store them upright for a few days before laying them on their side. Now, for the hardest part: waiting. Most homemade wines will taste better after aging for at least six months. The flavors meld, the harsh edges soften, and a truly beautiful wine emerges.
FAQ: Making Wine at Home
Why is my wine not fermenting?
This is a common hiccup! The most likely culprits are an issue with your yeast (it may have been too old or added to liquid that was too hot), or the temperature of your must is too cold. Yeast loves a cozy, consistent temperature, usually between 68-78°F (20-26°C).
How long does it take to make a batch of wine?
The total process, from start to bottling, can take anywhere from a few weeks to several months. But remember, good things come to those who wait. The longer you age it, the better it gets. The aging process after bottling can take a year or even longer for a really smooth, complex wine.
What kind of fruit should I use?
The world is your oyster! Grapes are the classic, but you can make delicious wine from almost anything. Blackberries, plums, apples, even dandelions and elderflowers are popular choices. Just make sure you follow a recipe that's designed for that specific fruit.
What’s the difference between a carboy and a demijohn?
Honestly, not much. The terms are often used interchangeably, but a carboy is typically a larger vessel, often used for brewing beer, while a demijohn is a more traditional term for a similar-shaped glass vessel used for winemaking.

A Toast to Your Inner Vintner
Think about it. The act of making wine is a little bit like tending a garden. You plant the seeds, you nourish them, and you wait with patience for the harvest. Sure, there might be a few weeds along the way, but the reward—a unique, handcrafted wine that you made with your own two hands—is an experience unlike any other. It's a conversation starter, a source of pride, and a delicious way to connect with a centuries-old tradition. So go on, give it a shot. Your taste buds—and your friends—will thank you.